The day has finally come. It has been 7 and a half years since Trevor and I moved into our home and every year we planned to fix/ renovate our basement bathroom but something else always came up. Well, time and 3 floods later varying in severity and we have finished our basement bathroom exactly like we wanted.
So as a little refresh for new readers and visitors. Our home basement is where we spend a lot of time in the winter months listening to music and watching movies. When we moved into our home the basement was a finished but unusable space. The ceiling was done with vinyl siding that had many many many mice living on top of it, a carpet that had been used as a doggie litter box for years and peach walls with lighter peach trim. The bathroom was illegally plumbed into our sump pump which meant the toilet and shower that were in there were draining into our ditch outside. GROSS. There of course was also the issue of it having been the only shower in the home at the time for 6 people and they had no form of exhaust fan so you can imagine what the smell of the space was with no windows.
We started in the beginning years with tearing all that out to make a bare bones basement and the first year on Halloween our original old sump pump broke down and we ended up with water in the basement. No loss as we hadn't started anything yet. We replaced the pump and then began about as money and time allowed to add a new ceiling, fireplace, lighting and painting.
2 days before Christmas Eve 3 years ago we had a massive ice storm and the power was out for 2 days which means no sump pump and we had a little water issue AGAIN.
And again not a huge loss as we were up and running a generator, trying to vacuum as fast as it was coming in. Loads of fans and everything dried out.
In July of last year with new sump pumps and everything, a little wire got stuck in a complete fluke on our brand new sump pump during a rain storm while we were on holidays and this time we came home to 3 inches of water in our whole basement.
Considering we are both pisces and both love water, our basement has not tried to reinforce that love.
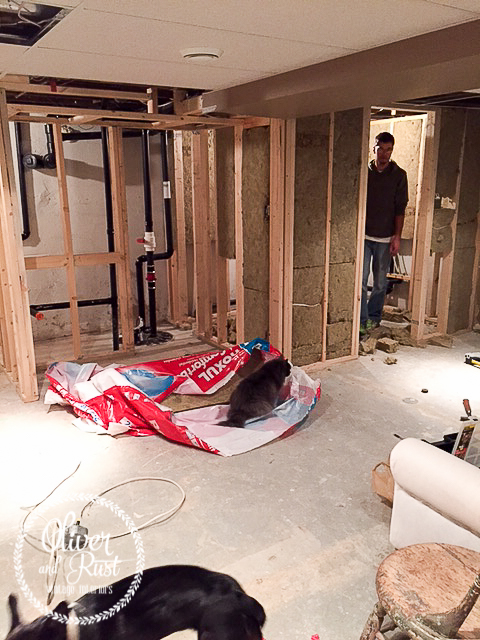
Trevor and I decided to do the renovations ourselves since we have quite a bit of experience with it now and Trevor works in the industry instead of paying out a fortune for insurance contractors. We finished up the basement around Christmas last year which you can see HERE.
We are fully reinforced with backup water systems for our sump pumps and our bathroom is now completely non ditch draining.
We made the bathroom a bit bigger but removed the shower that was in there originally as we just didn't need or see a need to have another one in our basement.
Trevor and his helpers Sammy and Franklin worked many hours building walls, insulating, putting flooring in and all the other fun things that require a lot of rye and cokes and swearing.
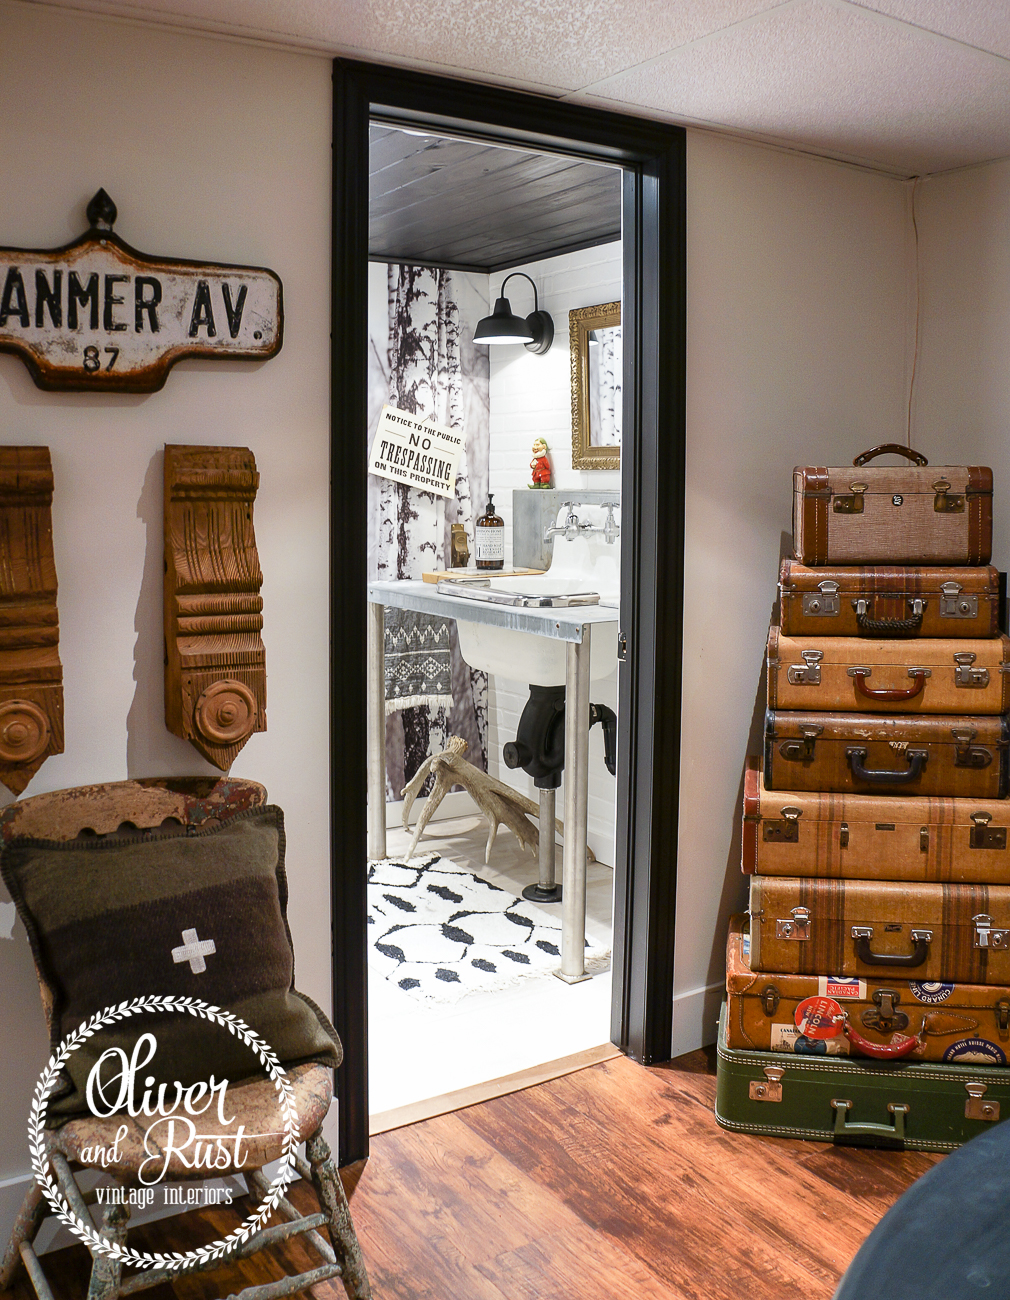
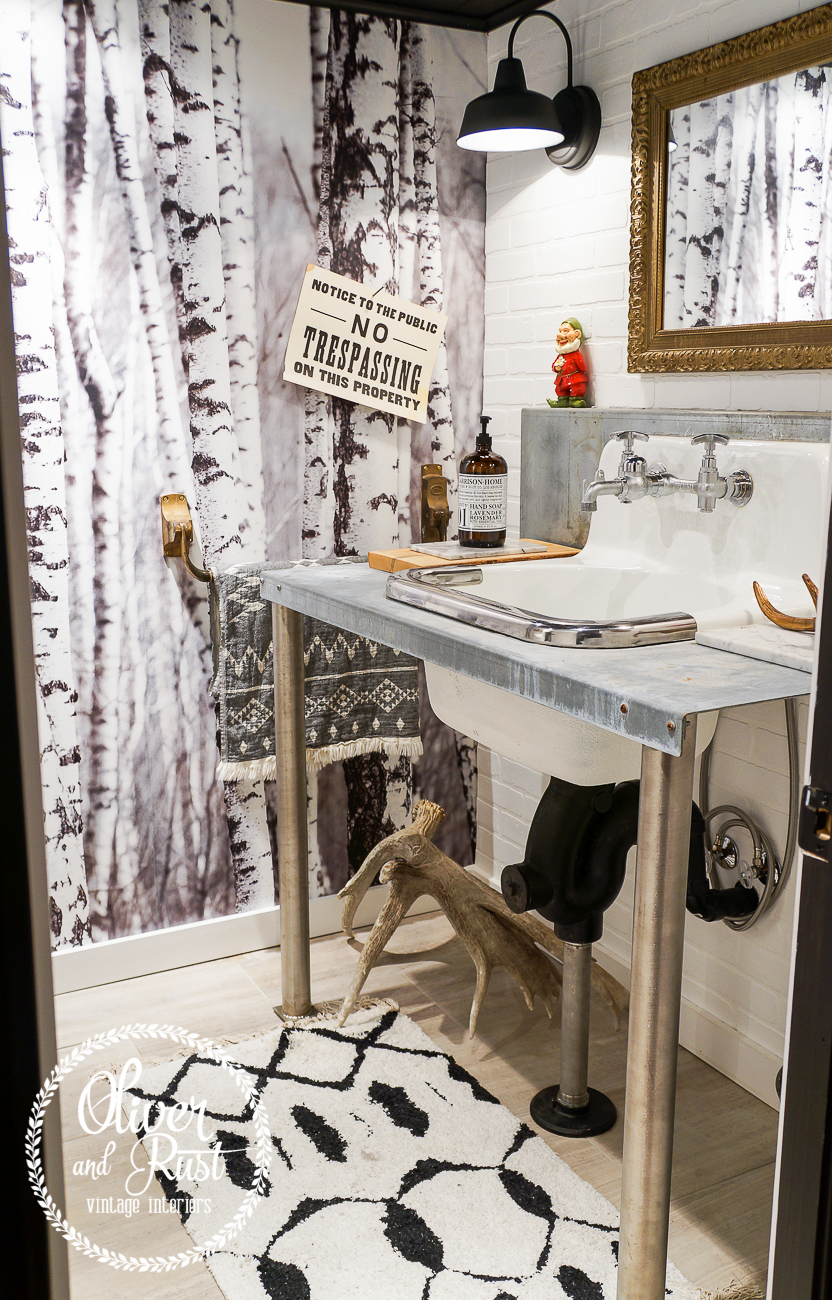
A view into the room from just outside the room. That stack of suitcases holds all the Christmas decor for the basement so I don't have to store it anywhere else and it's easily accessible when I need it. Those suitcases got opened this week......

THE BATHROOM THAT COULD!
My brain did not see a builder basic bathroom down here and trying to explain my vision got a few confused looks from people as we were going about the process. The hardest part finding a sink that we could use and that also didn't cost 1200.00 bucks.
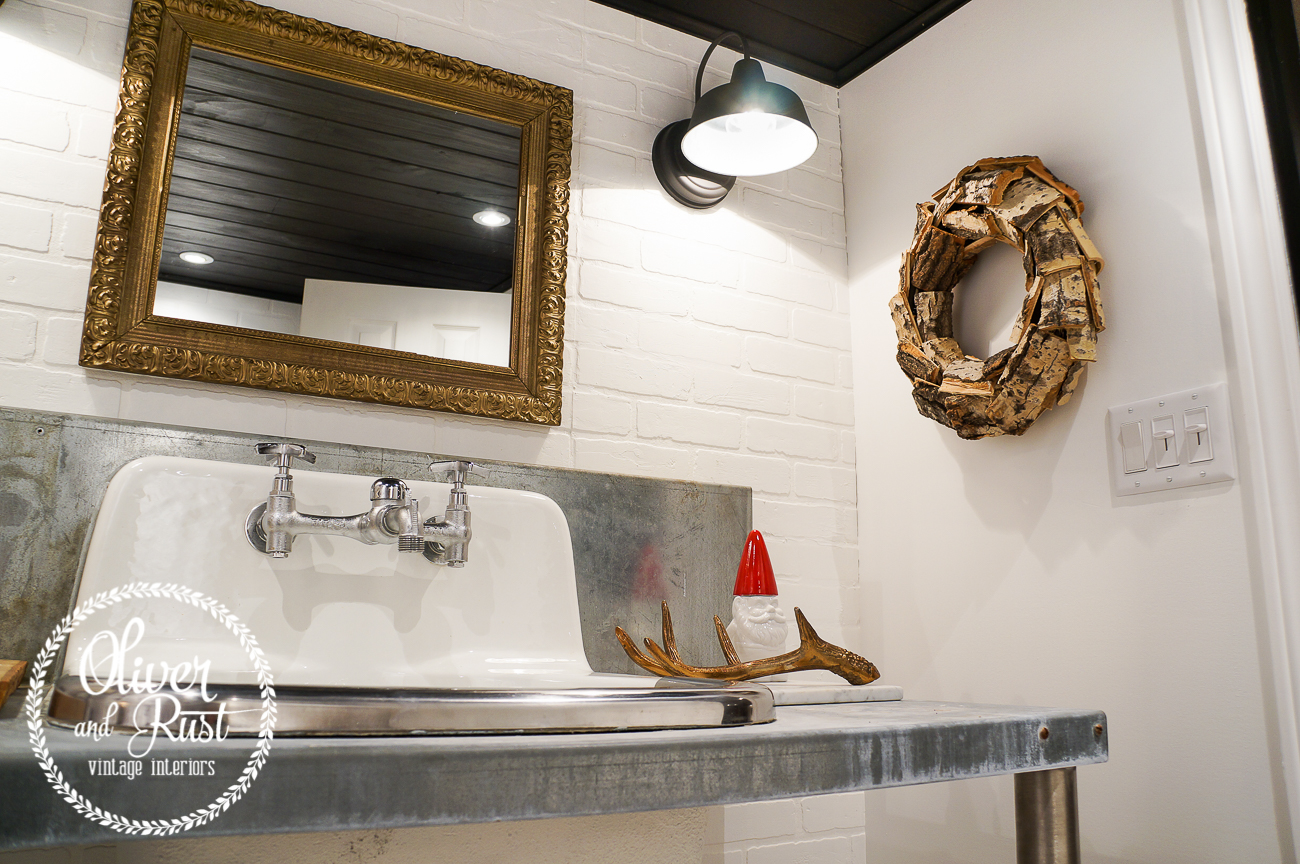
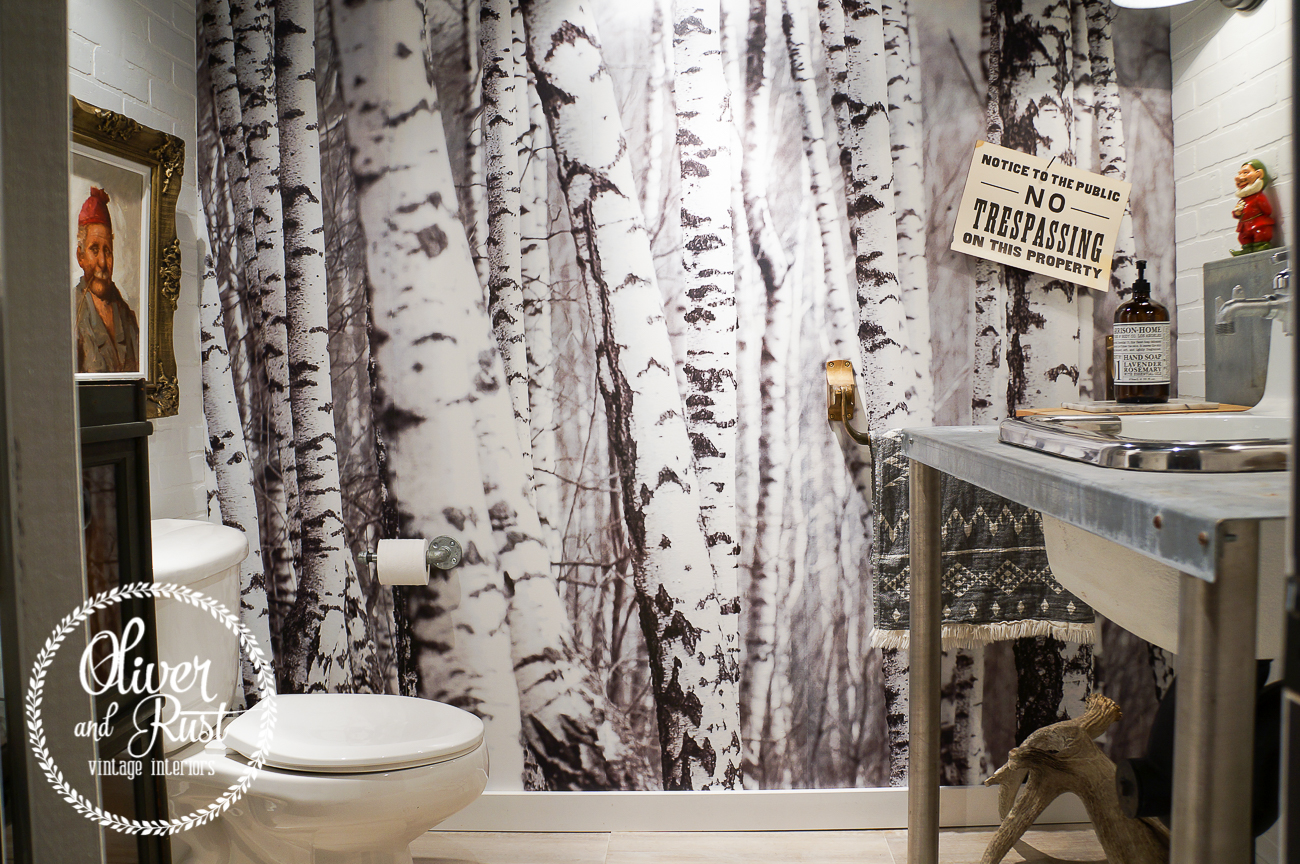
We hunted for what felt like forever for a cast iron sink that we could build a stand for. We wanted something that was big enough we could almost double as a laundry sink for washing paint brushes etc. This sink is a cast iron shop sink that a guy built into a solid galvanized table top. I squealed when Trev showed it to me as I knew it would work perfect. It sat laying on its back in our garage for weeks with many a person asking what the hell we would do with it. After lots of scrubbing and drain remaking, it went into the basement in pieces as they are all so heavy and I love it in here.
We used a honed escarpment marble on the floor. The 2 end walls are brick style panelling that I added extra compound in places to make look old and then painted white [just out of the can white].
My favourite feature now that it is on the wall [not so much as we were trying to hang it] is the full wall birch mural. I found the mural on etsy HERE.
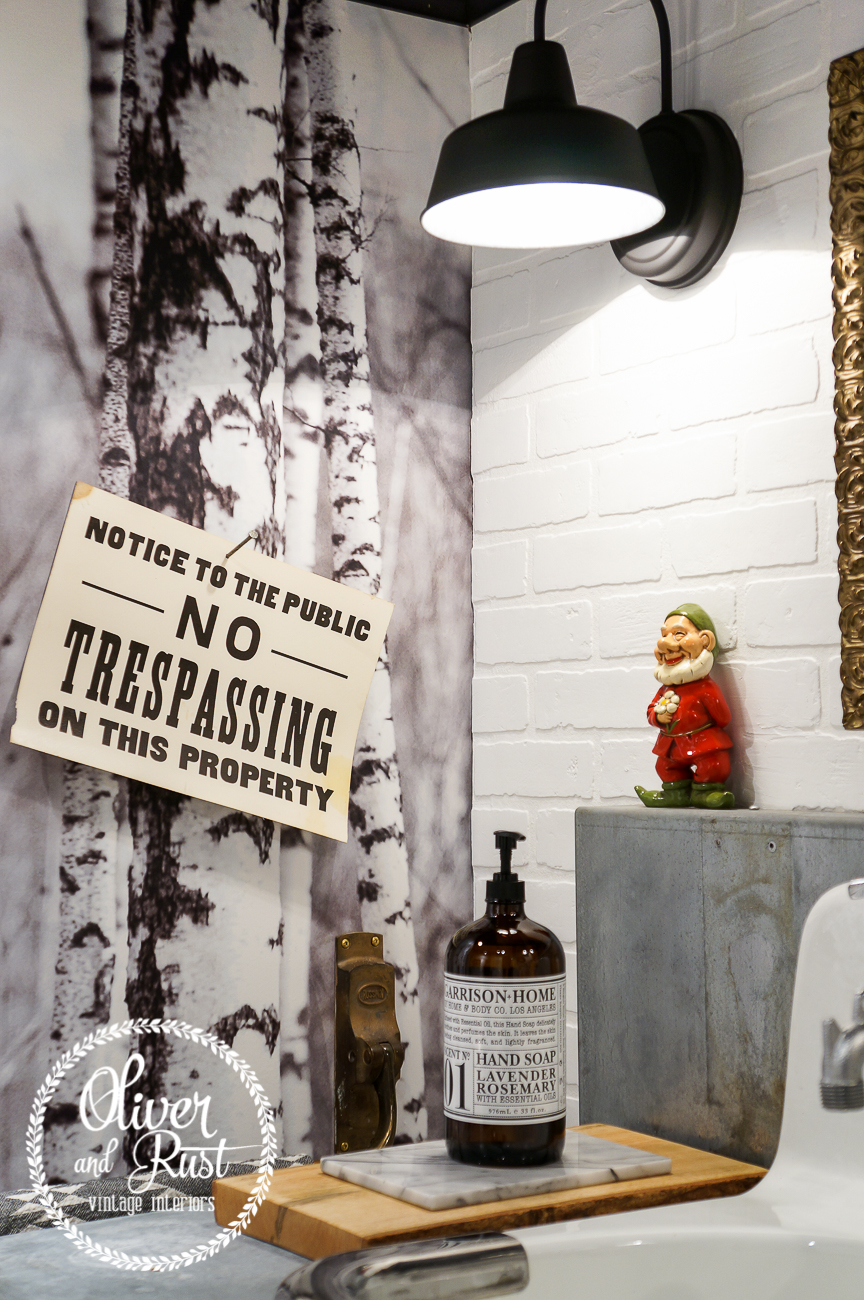
The no trespassing sign is a real vintage cardstock sign I used a giant nail to hang on a "tree" on the wall.

Plus what would a bathroom be in our house if someone odd or creepy wasn't staring at you. Meet Alfie. He's an oil painting I found in my travels and he adds just a smidge of colour to our black and white space.

A shot of the ceiling detail. We used plain pine tongue and groove and painted it black instead of traditional white. Just something to add that extra touch of luxury to an otherwise industrial space. In case someone is curious it is Sherwin Williams Black Magic (same as our basement hallway and trim)
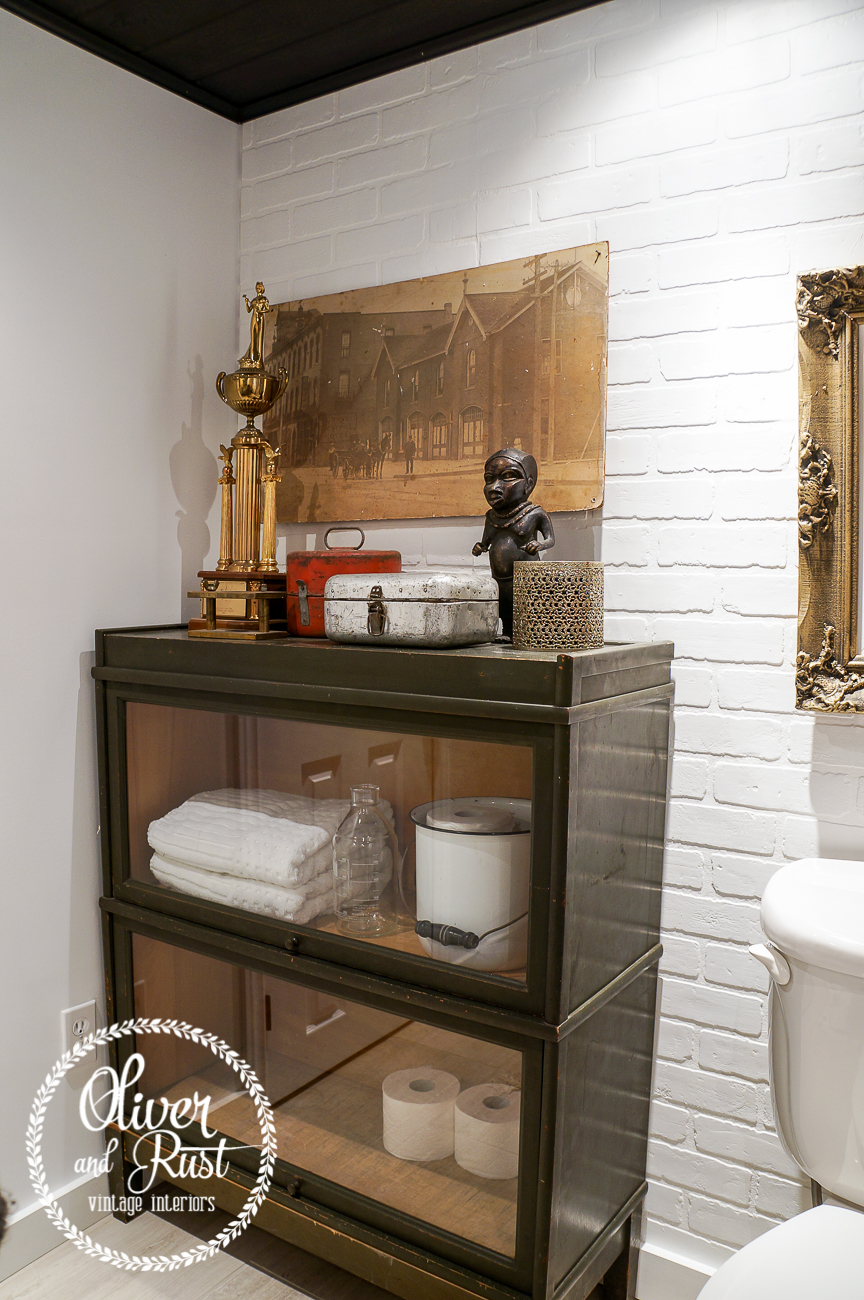
We don't need a lot of storage in this bathroom as it is only a 2 piece but we found this old army barrister cabinet in olive green that we've had stashed for about 2 years as it fits perfectly behind the door. A great place for a few collectibles and toilet paper.


Another stashed item from 2 years ago. This door bar is solid brass from an old store. We had it beforehand so built reinforcements into the wall white building to hold it up as our new towel bar.

And just outside the bathroom looking in. The bathroom ties in perfectly with our collected basement and makes me oh so happy to be able to go to the bathroom during a movie without hauling butt up the stairs. It's the little things.
I hope you enjoyed our little tour of the loo as much as I enjoyed sharing it with you. Another thing off the list.
Booyah!
Have a great day,
Meg